Quick 5-Minute Guide to the Basic Operations in Redmine

I will provide an easy-to-understand basic operations of the open source project management tool, Redmine.
Table of Contents
Home
The top page of Redmine is called the "Home". When you access Redmine with your browser, the following page is displayed.

By default, Home is set to public page, so anyone can view Home. You can change the system settings that anyone can view Home after sign in Redmine. For more details, refer to RedmineProjectSettings (Redmine official site).
Sign In
Clicking "Sign in" at the top right of Home will display the sign-in page.

After installation Redmine, "admin", a user with administrator privileges, is already registered. You can sign in by entering "admin" as both the login ID and password.
Layout
The layout of Redmine consists of a "Top Menu", "Projects Menu", and "Account Menu" at the top of the page, and information displayed at the bottom.

Top Menu
The top menu includes links for "Home", "My Page", "Projects", "Administration", and "Help".
- Clicking "Home" displays Home.
- Clicking "My Page" displays your personal dashboard. For more details, see My Page.
- Clicking "Projects" shows the list of projects.
- The "Administration" link is only visible to users with administrator privileges and leads to Administration menu.
- Clicking "Help" displays the "Redmine Guide", which is Redmine official guide and provides instructions for using Redmine.
Projects Menu
The projects menu shows links to functions available for the current project. In the example shown, features like "Issues" and "Gantt Chart" are available. This guide introduces "Projects", "Issues", and the "Gantt Chart."
Account Menu
The account menu displays links related to operations for the currently logged-in user.
- "Logged in" indicates that you are currently logged into Redmine.
- Clicking "My Account" displays a page where you can change your login ID or password, or customize your personal settings.
- Clicking "Logout" will log you out of Redmine.
Project Operations
In Redmine, information is managed by projects. This section explains the main operations related to projects.
Projects List
Clicking the "Projects" link displays a list of all the projects you are a member of. Click on a project name to display its page.

Create a Project
If you have administrative privileges, you can create a new project by clicking the "New Project" button on the project list page.

Issue Operations
This section explains operations related to "Issues", one of Redmine's core features.
Issue List
When you display a project and click "Issues" in the project menu, a list of issues registered to that project is displayed.

Create a Issue
Clicking the "New issue" button on the issue list page will display the page to create a new issue. Enter the details and click "Create" to register the issue.

Update a Issue
Clicking the subject of a issue in the list will display the issue details page. By clicking the 'Edit' button, you can enter the details of the work you’ve done, update the status based on the progress, and make other updates to the information.

Close a Issue
When a task is completed, change the issue status to "Closed". By default, closed issues are no longer displayed in the issue list.
Search Issues
To find the relevant issues in the list, you can narrow down the displayed issues using the filter. For example, you can add a "Assignee" filter to display only the issue assigned to you.
You can also search issues by entering keywords in the "Search" form at the top right of the page.

Custom Queries
The filter function is useful, but it can be tedious to set it up every time. In such cases, you can save the filter as a custom query. Saved custom queries are displayed as links on the right side of the page. Clicking a custom query will show the results based on the saved filter settings.

Gantt Chart
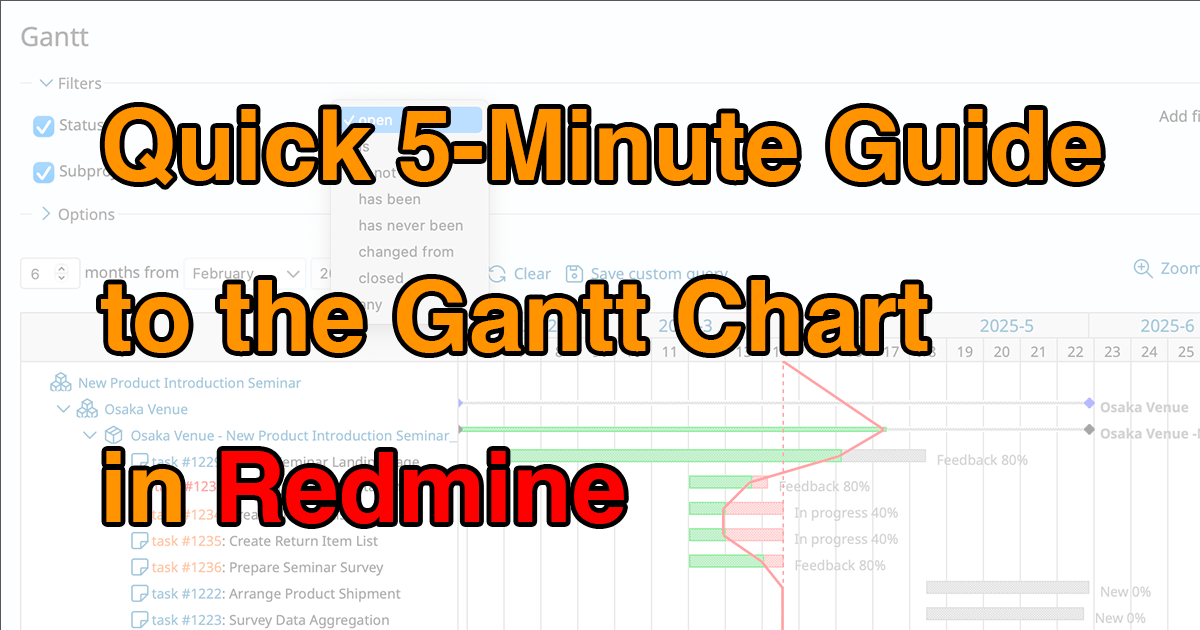
Clicking "Gantt" in the projects menu displays the issues in a Gantt chart format. If you enterd start and due dates for issues, you can visually check the order of tasks and the work schedule. The chart also includes a progress line, making it easy to quickly assess the progress.

Email Notifications
Redmine has a feature to send email notifications to related members when specific actions (such as issue creation or updates) occur. The email contains the comments added to the issue, so you can check the content without logging in Redmine. The email also includes a link to the issue, which you can click to open the issue page directly.

My Page
"My Page" is your personal dashboard. You can display multiple issue lists at the same time, filtered by "Issues Assigned to me" or "Watched issues". You can also display issue lists filtered by your own custom queries, which makes it very convenient.

Return to the "Quick 5-Minute Guide to Redmine" Article List
