Quick 5-Minute Guide to the Wiki in Redmine
2025-04-25
•
Tags: 5-minute
•


This article offers a clear and simple introduction to Redmine’s Wiki feature, part of the open-source issue tracking system.
Table of Contents
- Overview of the Wiki Feature
- Main Wiki Page
- Adding a New Wiki Page
- Viewing Wiki Pages
- Wiki Formatting
Overview of the Wiki Feature
In project management, effective information sharing is essential. Redmine’s Wiki feature is a powerful tool that supports this need and enhances team collaboration. A Wiki is a web application that allows multiple users to collaboratively create and update content through a web browser. Wikis are not unique to Redmine—they're widely used in many collaboration tools. One well-known example is Wikipedia, where contributors from around the world work together to build a comprehensive online encyclopedia. Redmine’s Wiki allows project members to add and edit pages collaboratively, helping centralize and manage information related to the project. Here are some common use cases:
- Recording setup procedures for development or server environments
- Documenting how to use various tools and sharing technical know-how
- Creating a portal page that links to various project-related resources
- Creating a page with links to key issues containing important information
Main Wiki Page
To access the Wiki, open your project in Redmine and click “Wiki” from the project menu. This opens the main Wiki page.

The main wiki page
The main page serves as the starting point of the Wiki. If it's the first time using the Wiki in the project, a blank editing screen will appear.

The wiki editor opens with a blank page
After entering content and clicking “Save,” the main page will be created.
Adding a New Wiki Page

Adding a new wiki page
To add a new Wiki page, hover over the “+” icon in the project menu and select “New wiki page” from the dropdown. Alternatively, you can click “New wiki page” from the [...] menu at the top right, next to the “Edit” and “Watch” buttons. A screen will appear where you can enter the title of the new page.

Title input screen for a new Wiki page
After entering the title and clicking “Next,” the editing screen will open. Once you've added your content and clicked “Save,” the new page will be created.
Viewing Wiki Pages
While viewing a Wiki page, the sidebar shows links such as “Start page,” “Index by title,” and “Index by date.”
- Clicking Index by title displays a list of all Wiki pages in alphabetical order.
- Clicking Index by date shows them in chronological order.
These options make it easy to browse and locate specific Wiki pages.

Wiki page list screen sorted by name
Wiki Formatting
When creating a Wiki page in Redmine, you can use formatting syntax to apply styles and make the content easier to read. By default, Redmine 5.1 and later support CommonMark Markdown, though you can switch to Textile if you prefer. For more details, refer to the official Redmine documentation on Markdown and Textile syntax.

Images can be embedded in wiki pages
Formatting lets you:
- Add headings
- Emphasize text
- Insert images
and perform other formatting tasks using simple syntax.
The editor also includes formatting buttons, so you can apply styles even if you're not familiar with the syntax.
Redmine’s Wiki feature helps you centralize scattered documentation, meeting notes, technical information, and other important content. By keeping everything in one place, it enhances project transparency, speeds up decision-making, and supports smoother team communication. Make full use of this essential feature to help your project succeed
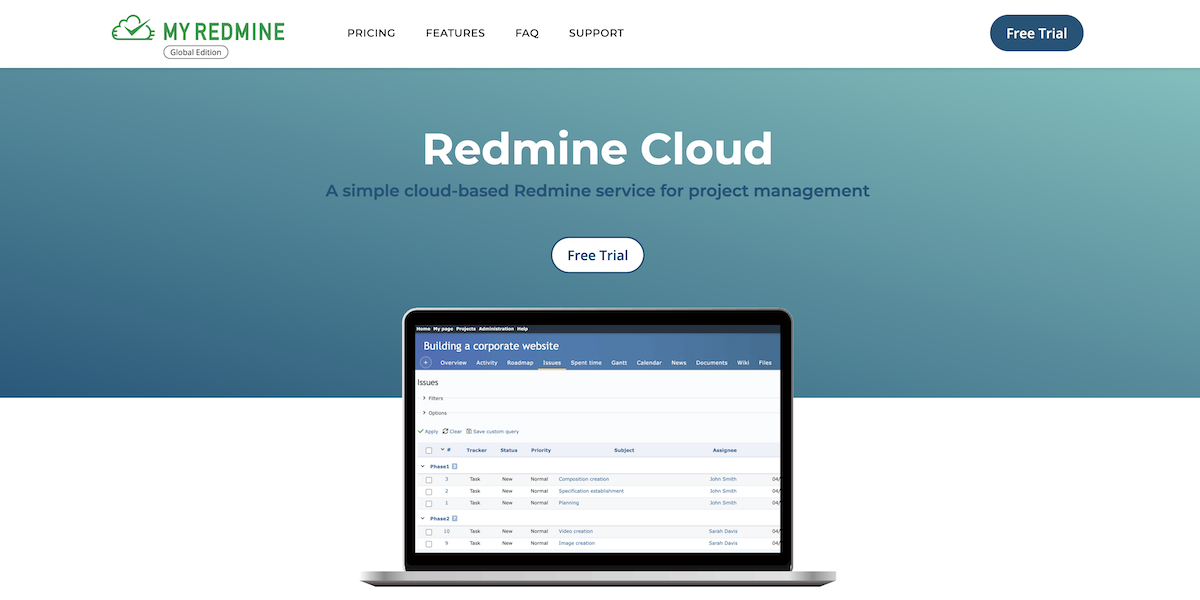
We encourage you to explore this feature and make the most of it in your Redmine projects! Explore Redmine's capabilities firsthand on the demo site: demo.redminecloud.net
Return to the "Quick 5-Minute Guide to Redmine" Article List